
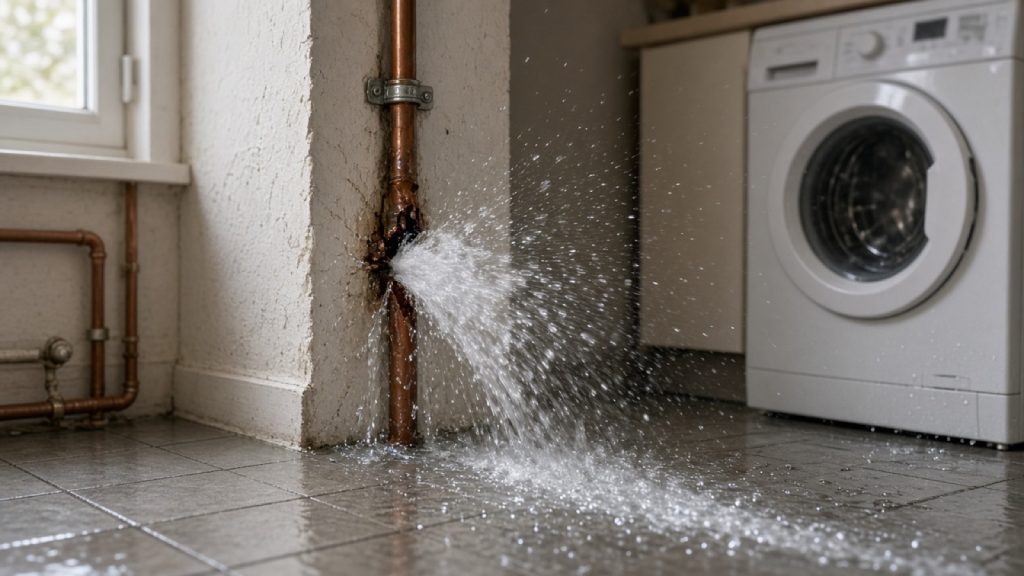
A burst pipe is the leak that does not wait. Water is coming through the ceiling, running across the kitchen floor or pouring out from under the stairs, and the pressure behind it means it keeps coming until the supply is shut. What you do in the first ten minutes decides how much of the house gets wet and how much of the damage is covered.
This article sets out those first steps in order: stop the water, make the electrics safe, protect what you can, start drying and record what happened. It then explains what causes a burst pipe in the first place, what to do when the burst is not where the water is showing, and how insurance generally treats it.
Stop the water at the stopcock
Go to the internal stopcock and turn it clockwise until it stops. For most houses that is under the kitchen sink. If you do not know where yours is, the usual places are under the stairs, in a downstairs toilet, in the garage or by the front door. Then open the kitchen cold tap and any other cold taps to let the pressure off and drain the pipework down. The flow at the burst drops almost at once.
If the water keeps coming at the same rate with the stopcock off, the burst is either on the heating circuit or on the supply pipe before the stopcock. Turn the boiler off at its switch. Then find the outside stop valve at the boundary, under a small cover in the pavement or the front garden, and close it with a stopcock key. If you cannot find or turn either valve, ring your water company's emergency number and say you cannot isolate the property.
• Stopcock clockwise until it stops
• Open the cold taps to drain the pipes
• Boiler off if the water carries on
• Outside stop valve at the boundary if the stopcock does nothing
• Water company emergency line if nothing shuts it
Make the electrics safe
Water finds light fittings, sockets and the consumer unit before it finds anything else. If water is coming through a ceiling near a light, or running down a wall with sockets in it, switch off that circuit at the consumer unit. If water is near the consumer unit itself, or you are not sure which circuit is which, switch off the main switch and leave it off. Do not touch switches or sockets with wet hands and do not stand in water to reach them.
Leave the circuits off until an electrician has checked them or until everything has dried out completely. A fitting that has had water in it can trip the circuit days later, and some faults do not trip anything at all. Treat any appliance that got wet, from a tumble dryer to a table lamp, as off limits until it has been looked at.
Protect what you can and start drying
Move furniture, rugs, boxes and anything electrical out of the wet area or up onto blocks. Lift carpets at the edge so air gets underneath, and take up any laminate that is lifting before it swells and locks together. Put buckets under drips and pierce any bulge in a ceiling at its lowest point, with a bucket underneath, so the water comes down in a stream rather than with the plasterboard.
Then get air moving. Open windows, run the heating if the electrics are safe and the heating is not the source, and hire or borrow a dehumidifier as soon as you can. The longer a floor, a wall or a ceiling stays wet, the more has to be replaced rather than dried, and the greater the chance of mould. If the water has been standing for hours, or there is a lot of it, a drying company is worth the call and the cost is usually part of the claim.
Record the evidence before you clean up
Photograph everything before you mop and before you move more than you have to: the burst if you can see it, the water on the floor, every stained ceiling and wall, every damaged item. Photograph the stopcock and the meter, and the boiler gauge if the heating is involved. Note the time you found it and the time you shut the water off.
Keep the damaged pipe or fitting once it has been replaced, and keep receipts for everything: emergency plumber, dehumidifier, cleaning, materials. Ring your insurer the same day to open the claim and ask what they need before any permanent repair is done. Some want to see the damage before it is made good, and some want to appoint their own contractors.
What causes a burst pipe
Frost is the one everyone knows. Water expands as it freezes, and a pipe in a loft, a garage, an outside wall or an unheated extension splits along its length or at a joint. The burst often does not show until the thaw, when the ice plug melts and the water flows again, which is why the first mild morning after a cold snap brings a rush of calls.
The others are slower. Copper corrodes from the outside where it sits in a damp screed or against lime plaster, and from the inside where the water is aggressive. Old galvanised steel and lead supply pipes thin until they fail. A compression joint that was never quite right finally gives up. Excess mains pressure, water hammer from a fast-closing valve or a nail through a pipe during building work all count too. Knowing which it was matters for the insurance as much as for the repair.
• Frost in a loft, garage or outside wall
• Corrosion of copper in a screed or against plaster
• Old lead or galvanised supply pipe under the garden
• A joint that was poorly made or has worked loose
• High mains pressure or water hammer
• A nail or screw through a pipe during building work
When the burst is not where the water is
Water travels. It runs along a pipe, along a joist, down the inside of a wall and across the top of a ceiling before it drops where you see it, so the wet patch can be a long way from the burst. After a freeze there can be several splits along one run. If the leak only showed as a high bill, a damp wall or a soft patch in the garden, there may be no visible burst at all: the pipe is in the floor, in the wall or under the drive.
This is where the stopcock test from the first section earns its keep. If the stopcock stops it, the burst is inside the house on the mains pipework. If only the outside valve stops it, it is the buried supply pipe. If neither does and the boiler pressure is falling, it is the heating circuit. That sorts the problem into one of three places before anyone starts opening things up.
The pinpointing is detection work rather than guesswork. A buried supply pipe is traced and then listened to with acoustic equipment while under pressure, and the ground is opened at one spot. A pipe inside a wall or floor is narrowed down with a thermal camera and moisture readings. A heating pipe is confirmed with a pressure test and found with tracer gas. We work no find, no fee and leave a written report that supports the claim.
Burst pipe insurance: how claims usually work
Most home insurance policies cover the damage caused by a sudden escape of water, which is what a burst pipe is. The repair to the pipe itself is often not covered, because the pipe wearing out is treated as maintenance. Most policies also carry trace and access cover, which pays for finding a hidden leak and for putting right what had to be opened to reach it, such as a floor or a wall. Check your own schedule rather than assuming, because the wording and the limits differ.
Claims run into trouble for a few predictable reasons: no photographs, no record of when it happened, a repair done before the insurer saw anything, or damage that turns out to have been going on for months and is classed as gradual rather than sudden. A leak detection report with the location, the cause, the photographs and the readings deals with most of those at once. Our article on claiming for a water leak covers the process in more depth.
What to do next
Water off, electrics safe, evidence kept, drying started, insurer told. If you can see the burst, a plumber can repair it now. If you cannot, ring 07897 020 680 at any hour or 01440 840 772 in office hours, tell us which valve stopped the flow and what the boiler gauge is doing, and we can usually book you in within 24 to 48 hours. Charlie brings the kit the tests point to, and you get one marked spot and a written report rather than an opened-up house.